Decluttering an entire home can feel overwhelming because the visible mess is usually only part of the problem. Clutter also hides in cabinets, paperwork, digital files, storage bins, duplicate purchases, and items that have no clear place. A successful whole-home decluttering project therefore needs more than a weekend purge: it needs a system for deciding what stays, removing what leaves, and preventing the same accumulation from returning.
This ultimate beginner’s guide uses a room-by-room method you can spread across several weeks. It is designed for ordinary homes, rentals, families, and small spaces—not for a staged minimalist photo. Keep useful and meaningful belongings. Remove the items that cost more in space, time, maintenance, or stress than the value they provide.

Before You Declutter: Audit the Problems You Want to Solve
Do a short walk-through before moving anything. Write down the places that create repeated frustration. Examples include a kitchen counter that never stays clear, clothes that do not fit in the wardrobe, an entryway full of shoes, or paperwork that gets moved from one pile to another.
Then identify the actual problem behind each area:
- Too many items: the storage capacity is reasonable but the quantity is not.
- No assigned home: useful items are repeatedly left on surfaces.
- Wrong location: an item is stored far from where it is used.
- Maintenance backlog: broken or unfinished items occupy space.
- Incoming clutter: shopping, mail, packaging, or hand-me-downs enter faster than they leave.
This distinction matters. Buying a new organizer will not solve an incoming-clutter problem, and decluttering alone will not fix a poorly located storage system.
Set Up Five Exit Categories
Prepare clear zones or containers for:
- Keep here
- Move to another room
- Donate or give away
- Sell
- Recycle or dispose safely
Do not create a large “decide later” pile. For genuinely difficult objects, use one limited review box with a date written on it. If every uncertain item goes there, you have simply moved the clutter.
The U.S. Environmental Protection Agency recommends reducing and reusing before disposal where practical. Electronics, paint, batteries, cleaners, and other hazardous household products may require special handling; use the EPA’s household hazardous waste guidance and your local waste authority for current rules.
Room 1: Entryway and High-Traffic Surfaces
Start where progress will be visible. The entryway, dining table, kitchen counter, or living-room surface often collects objects that belong elsewhere.
Remove first
- Trash and packaging
- Old mail
- Empty bags
- Items waiting to be returned
- Objects that belong in another room
Then create a small “landing zone” for daily essentials such as keys, wallet, transit card, glasses, and one incoming-mail location. The fewer decisions required when you arrive home, the more likely the system is to survive.
Room 2: Kitchen
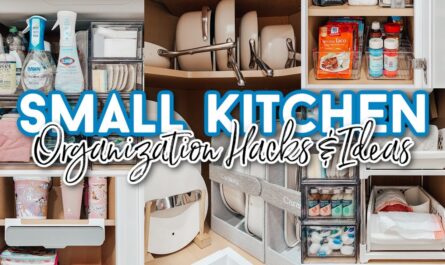
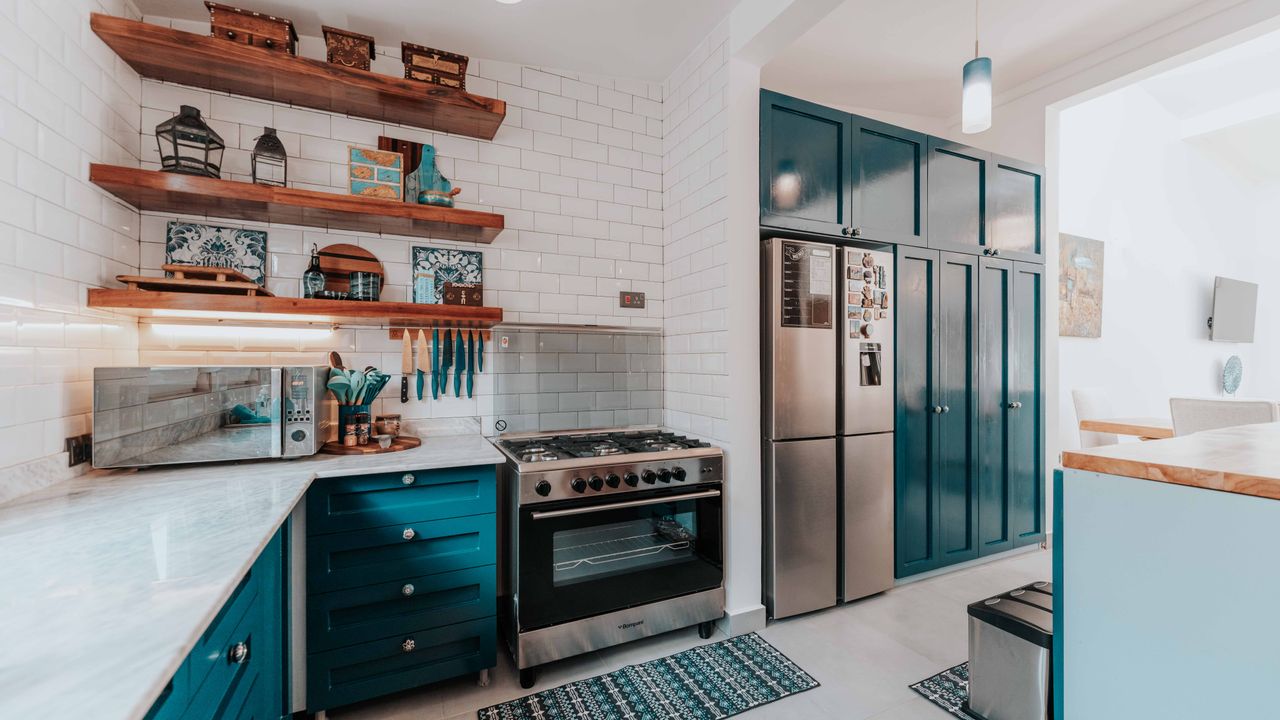
Kitchens become cluttered through duplicates, aspirational gadgets, mismatched food-storage containers, bulk purchases, and items stored where they are inconvenient to use.

Work in this order
- Clear the main preparation surface.
- Discard expired or spoiled food appropriately.
- Match food containers with lids.
- Group cooking tools by function.
- Identify duplicate appliances and utensils.
- Move rarely used items out of prime storage.
Do not throw away safe, useful kitchen equipment just to make shelves look sparse. The target is functional space. Our kitchen organization guide goes deeper into zones and low-cost storage.
Room 3: Bedroom and Wardrobe
Start with one clothing category instead of emptying every drawer and hanger. Sort current-season tops, trousers, shoes, or another manageable category.
Keep clothes that fit your current body and routine, plus reasonable seasonal, work, formal, or specialist clothing. Set damaged garments aside only if you realistically plan to repair them. Give the repair pile a deadline.
Questions that help
- Have I worn this in the appropriate season?
- Does it fit and feel comfortable now?
- Does it serve a real situation in my life?
- Do I own several near-identical versions?
- Would I choose this over similar clothes I already own?
If you want a smaller coordinated wardrobe after the declutter, use our capsule wardrobe guide.
Room 4: Bathroom and Personal-Care Storage
Bathroom clutter often comes from half-used products, duplicates, expired items, hotel samples, and products that did not work for you.
- Check expiration or use-by guidance where applicable.
- Keep daily products easy to reach.
- Move backups together so you can see inventory before shopping.
- Do not share or donate opened personal-care products when hygiene makes that inappropriate.
- Use appropriate medication-disposal options rather than automatically flushing or trashing medicines.
For U.S. households, the FDA provides current guidance on safe disposal of unused medicines.
Room 5: Living Room and Shared Spaces
Shared rooms need shared rules. Focus first on items everyone agrees are trash, broken, duplicated, or misplaced. Do not remove another person’s belongings without permission.
Reduce visual clutter by grouping collections, leaving some surfaces partially empty, and assigning storage for remote controls, chargers, toys, games, blankets, or hobby items.

Paperwork: Declutter Without Creating Privacy Risk
Paper is different from ordinary clutter because some documents contain personal or financial information and some must be retained.
Create four categories:
- Action: bills, forms, or documents requiring a response.
- Current reference: records you need in the near term.
- Long-term records: legal, tax, property, insurance, or other documents you need to retain.
- Secure disposal: documents no longer needed that contain sensitive information.
The FTC recommends securely disposing of sensitive personal information rather than leaving it readable in ordinary trash. Its personal-information security guidance covers safer handling of sensitive records.
Digital Clutter
Do not spend hours perfectly renaming every digital file. Focus on high-value improvements:
- Delete unused apps.
- Remove duplicate downloads.
- Back up irreplaceable documents and photos.
- Unsubscribe from email you consistently delete.
- Use a simple folder structure for important records.
- Turn off low-value notifications.
For a broader attention-focused plan, see our digital minimalism guide.
Sentimental Items: Use a Different Decision Process
Sentimental belongings deserve more time than expired toiletries. Do them near the end of the project when you have practiced easier decisions.
Try these options
- Keep one representative item from a larger collection.
- Photograph bulky objects before letting them go.
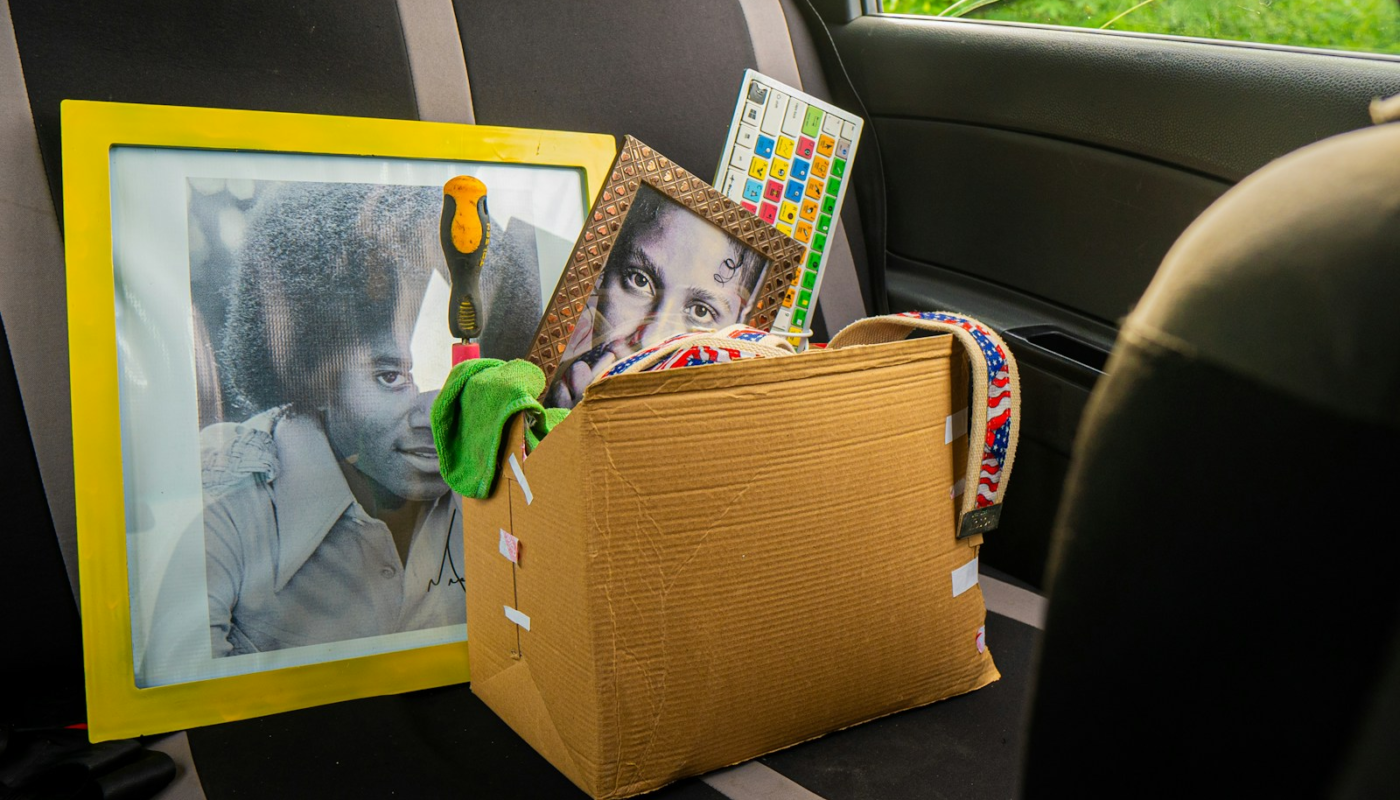
- Create a physically limited memory box.
- Pass family items to someone who genuinely wants them.
- Postpone decisions during grief or major life transitions when necessary.
Minimalism is not a requirement to discard memories. The goal is to keep sentimental objects intentionally rather than by default.
Selling vs. Donating: Set a Deadline
Selling can recover money, but low-value items can consume a surprising amount of time. Decide which items are worth photographing, listing, messaging about, and handing over.
A simple rule: list higher-value items for a defined period. If they do not sell by the deadline, lower the price or donate them. Do not let the “sell pile” become permanent storage.
A 30-Day Whole-Home Decluttering Plan
| Days | Focus |
|---|---|
| 1–3 | Entryway, visible surfaces, and exit containers |
| 4–8 | Kitchen and pantry |
| 9–13 | Bedroom and wardrobe |
| 14–16 | Bathroom and personal care |
| 17–20 | Living/shared spaces |
| 21–23 | Paperwork |
| 24–25 | Digital clutter |
| 26–28 | Storage areas and sentimental items |
| 29 | Donation/sale/recycling exit day |
| 30 | Review and create maintenance rules |
How to Prevent Clutter From Returning
- Create one home for incoming mail.
- Keep a donation bag in a convenient place.
- Use a purchase pause for non-essential items.
- Check existing inventory before buying backups.
- Reset one high-traffic surface each evening.
- Review one drawer, shelf, or category each week.
- Remove donations and recycling promptly.
If the whole project feels too large, start with our shorter beginner decluttering guide and return to this room-by-room framework later.
Frequently Asked Questions
How long does it take to declutter a whole house?
It depends on home size, number of belongings, family participation, and how quickly donation or disposal options are available. Several weeks of short sessions is often more manageable than one exhausting weekend.
Should I declutter by room or by category?
Beginners often find rooms easier because each session has a visible finish line. Clothing and paperwork can benefit from category-based sorting when those items are spread throughout the home.
Should I buy storage containers?
Only after you know what you are keeping and have measured the space. Containers are useful for organization but do not reduce excess belongings.
What if my family does not want to declutter?
Work on your own belongings and mutually agreed shared areas first. Use household conversations for shared storage rules rather than discarding another person’s possessions.
How do I declutter without creating waste?
Reuse, donate, repair, sell, and recycle where practical, and use appropriate local disposal channels for hazardous or regulated items.
Conclusion
A whole-home declutter succeeds when the result is easier to maintain than the old system. Start with visible, low-emotion zones; remove unwanted items quickly; organize only what remains; and use different decision rules for paperwork, hazardous materials, and sentimental belongings.
After the final donation trip, keep the project alive with small maintenance habits. The long-term win is not an empty home—it is a home where useful belongings are easy to find, daily surfaces are easier to reset, and new clutter no longer enters unnoticed.