
Decluttering a home does not have to mean emptying every cupboard in one weekend or buying a new set of storage boxes. For a beginner, the most effective approach is usually much simpler: choose one small area, decide what deserves space in your home, remove what no longer serves you, and create an easy place for the items you keep.
This beginner-friendly decluttering guide is designed for real homes and real schedules. You can use it whether you live in a studio apartment, a shared rental, or a family home. The goal is not a perfect minimalist interior. The goal is a home that is easier to use, easier to clean, and easier to maintain without spending a lot of money.

What Decluttering Actually Means
Decluttering is the process of reducing unnecessary belongings and organizing the items you intentionally keep. It is different from ordinary cleaning. Cleaning removes dirt; decluttering reduces the number of things competing for space and attention.
You also do not need to become a minimalist to benefit. A practical home can still contain books, collections, family keepsakes, hobby equipment, children’s items, and décor. The useful question is not “Would a minimalist own this?” but “Does this item earn the space, time, or maintenance it requires in my current life?”
Before You Start: Set Three Simple Rules
1. Do not buy organizers first
Storage products can be useful after you know what you are keeping. Buying boxes before sorting often creates a more attractive version of the same clutter. Finish the decision-making stage first, then measure the space and buy only what solves a specific problem.
2. Work in small zones
Do not begin with “the bedroom” if that feels too large. Begin with one nightstand, one dresser drawer, or one section of the wardrobe. A finishable task gives you a clear stopping point and prevents the common problem of spreading belongings across several rooms.
3. Create an exit plan
Decide in advance where donations, recyclable materials, electronics, documents for shredding, and household hazardous waste will go. The U.S. Environmental Protection Agency recommends reducing and reusing where practical before disposal. Items such as paint, certain cleaners, batteries, and other household hazardous materials may need special handling; the EPA also provides household hazardous waste guidance.
The Four-Container Decluttering Method
Use four clearly labeled containers or zones: Keep Here, Move Elsewhere, Donate/Sell, and Recycle/Dispose. This is easier for beginners than creating dozens of categories.
- Keep Here: useful items that belong in the space you are working on.
- Move Elsewhere: useful items that belong in another room.
- Donate/Sell: usable items that you no longer need.
- Recycle/Dispose: damaged, expired, unsafe, or unusable items.
Step-by-Step: How to Declutter Your Home
Step 1: Choose a visible, low-emotion area
A bathroom drawer, kitchen counter, entry table, or one shelf is a good first project. Avoid starting with old photographs, inherited items, children’s keepsakes, or paperwork if those categories are emotionally difficult. Early progress should make the process easier, not harder.
Step 2: Remove obvious trash and expired items
Before making complicated decisions, remove packaging, broken objects, expired products, duplicate paperwork that can be safely discarded, and anything you already know you do not want. Check local rules before disposing of medication, chemicals, batteries, electronics, or sensitive documents.
Step 3: Group similar items together
It is hard to decide whether you own too many mugs, cables, towels, or toiletries when they are scattered around the home. Gathering similar items gives you a realistic inventory. You may discover that you already own replacements for things you were planning to buy.
Step 4: Decide what to keep based on use and space
Ask practical questions: When did I last use this? Would I buy it again today? Does it fit my current home and lifestyle? Do I own another item that performs the same job? Is keeping it worth the storage space and maintenance?
Step 5: Remove donations from the home quickly
A donation box that sits by the door for six months is still clutter. When possible, schedule a drop-off or pickup soon after the session. If you plan to sell something, give yourself a reasonable deadline; if it does not sell, decide whether donating it would free more value in time and space than continuing to store it.
Step 6: Give every kept item a practical home
Frequently used items should be easy to reach. Rarely used seasonal items can be stored higher or farther away. Avoid creating a complicated organizing system that takes more effort to maintain than the problem it solves.

A Beginner-Friendly Room Order
| Area | Good first target | Main decision |
|---|---|---|
| Bathroom | One drawer or shelf | Expired, duplicate, or unused products |
| Kitchen | Countertop or one cabinet | Duplicates and rarely used tools |
| Bedroom | Nightstand or one clothing category | What fits and gets used now |
| Living room | One surface or media area | Visible clutter and items without a home |
| Paperwork | One small stack | Keep, digitize, shred, or act on |
| Sentimental items | Last | Meaning, memory, and available space |
How to Declutter a Kitchen Without Buying More Storage
Kitchen clutter often comes from duplicates, aspirational gadgets, bulk purchases, and items stored far from where they are used. Start with the countertop because clearing visual space creates an immediate improvement.
- Keep daily-use appliances accessible; store occasional appliances elsewhere if space allows.
- Group cooking tools by function instead of by appearance.
- Use the oldest food first and check expiration dates regularly.
- Keep a realistic number of plates, glasses, and containers for your household.
- Avoid keeping food-storage containers without matching lids.
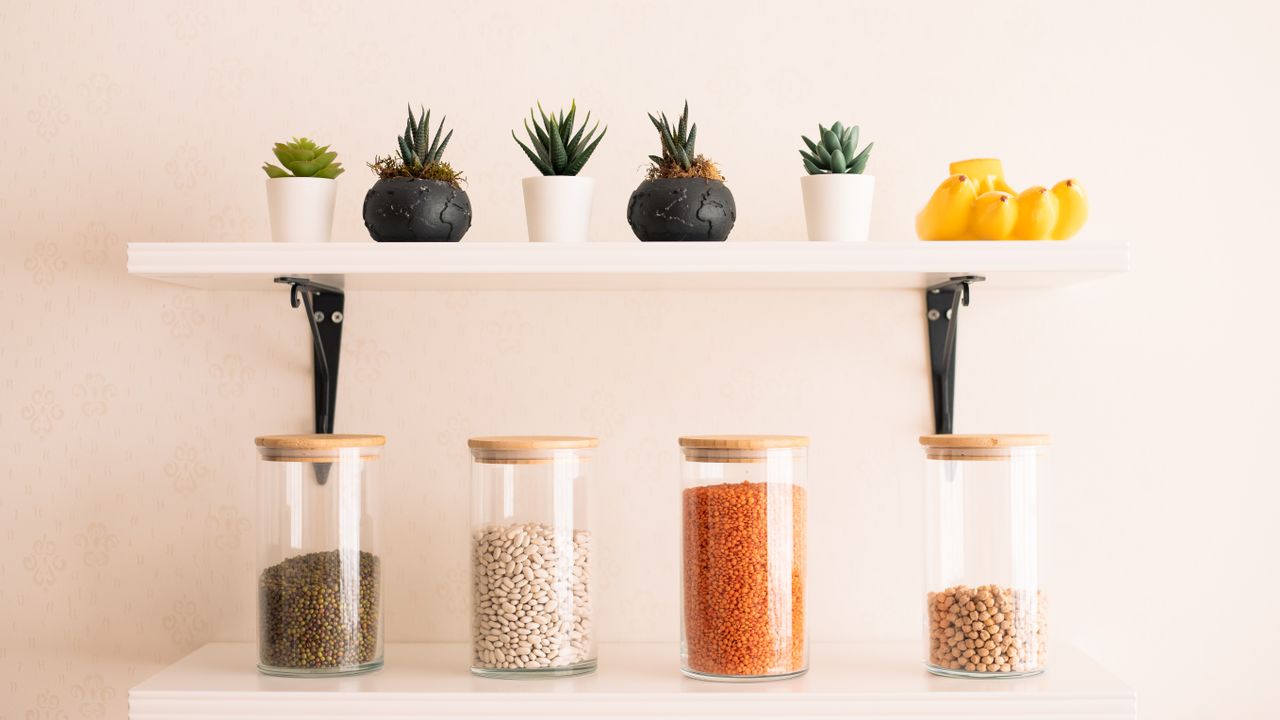
For more detail, see our guide to organizing a kitchen without buying extra stuff.
Decluttering Clothes Without Creating Regret
Work by category rather than emptying the entire wardrobe. Start with everyday shirts, trousers, or shoes. Set aside items that need repair and give yourself a deadline to fix them.
Keep clothes that fit your current body and lifestyle, plus a reasonable amount for seasonal or special situations. If a garment is uncomfortable, damaged beyond sensible repair, or repeatedly skipped when you choose what to wear, it may no longer deserve prime wardrobe space.
If you want to simplify further, our capsule wardrobe guide for beginners shows how to build a smaller, more coordinated clothing system without replacing everything you own.
How to Handle Sentimental Items
Sentimental decluttering should not be rushed. The goal is not to prove that you can throw away meaningful possessions. It is to separate the memory from the pressure to keep every object connected to it.
Consider keeping a representative item from a larger group, taking a photograph of bulky objects, or creating one clearly limited memory box. If you are grieving or dealing with a major life transition, it is reasonable to postpone difficult decisions. A deadline is useful for ordinary clutter; it is not mandatory for emotionally significant possessions.
Paper and Digital Clutter
Paperwork deserves its own system because some records need to be retained while others contain personal information that should not simply be placed in the trash. Create four categories: action required, short-term reference, long-term records, and safe destruction.
Digital clutter can also make daily life harder. Remove duplicate downloads, unsubscribe from messages you never read, organize essential files, and back up documents you cannot replace. If your screens and notifications are the bigger problem, read our digital minimalism guide.
A Seven-Day Beginner Decluttering Plan
- Day 1: Clear one visible surface and create your four containers.
- Day 2: Declutter bathroom products and one medicine/toiletry area; dispose of regulated items correctly.
- Day 3: Clear one kitchen cabinet and the main countertop.
- Day 4: Sort one clothing category.
- Day 5: Declutter the entryway, living-room surface, or another high-traffic zone.
- Day 6: Process one small paperwork stack and one digital folder.
- Day 7: Take donations out, return “move elsewhere” items, and review what worked.
Common Decluttering Mistakes
- Pulling everything out at once: this can make the home less functional before you have time to finish.
- Buying storage as motivation: containers do not reduce the number of belongings.
- Keeping items only because they were expensive: the money has already been spent; keeping an unused item does not recover it.
- Creating an unrealistic sell pile: low-value items can consume weeks of attention for very little return.
- Decluttering someone else’s belongings without permission: shared homes require shared decisions.
- Expecting one big cleanup to last forever: maintenance habits matter more than a perfect weekend.
How to Keep Clutter From Coming Back
Maintenance should be lighter than the original decluttering process. A few small habits can make a large difference:
- Return frequently used items to the same place after use.
- Keep one donation bag or box in a practical location.
- Pause before buying duplicates or “just in case” items.
- Review one drawer, shelf, or category each week.
- Use a one-in, one-out rule only for categories where it genuinely helps.

Frequently Asked Questions
How long should I declutter each day?
For a beginner, 10 to 30 focused minutes can be enough. Stop while you still have the energy to finish the zone, remove trash, and put kept items away.
What should I declutter first?
Choose a visible area with easy decisions: a countertop, bathroom drawer, nightstand, or one kitchen shelf. Leave emotionally difficult categories until you have built confidence.
Should I sell or donate unwanted items?
Sell items when the expected return is worth the time needed to photograph, list, communicate, and arrange delivery or pickup. Donate usable lower-value items when freeing the space quickly is more valuable to you.
Do I need expensive organizers?
No. Many homes become easier to use simply by reducing duplicates, grouping related items, and assigning clear locations. Buy organizers only when they solve a measured storage problem.
What if my family does not want to declutter?
Start with your own possessions and shared areas where everyone agrees on the goal. Do not remove another person’s belongings without permission.
Conclusion
The easiest way to declutter your home is to make the project smaller. Choose one zone, sort with a simple decision system, remove unwanted items promptly, and organize only what you intentionally keep. You do not need an empty home, an expensive storage system, or an entire free weekend.
Once the first few areas become easier to use, repeat the same process elsewhere. Consistent small decisions create a home that supports your daily routine instead of constantly demanding another major cleanup.