
A high utility bill does not automatically mean you need new windows, a new furnace or an expensive smart-home upgrade. The first step is to find where the home is actually losing energy. A home energy audit, also called a home energy assessment, gives you a structured way to do that.
You can begin with a careful DIY walk-through and then decide whether a professional assessment is worth the cost. The goal is to identify the biggest problems first so you do not spend money fixing small issues while a major air leak, insulation gap or duct problem continues to waste energy.
This guide walks through the process in practical order, including safety limits, simple tests, professional tools and how to turn findings into a budget-friendly improvement plan.
What Is a Home Energy Audit?
A home energy audit is an evaluation of how a house uses and loses energy. It looks at the building shell, heating and cooling systems, insulation, air leakage, ducts, water heating, lighting and appliances.
The U.S. Department of Energy Energy Saver program recommends starting with an energy evaluation because it helps identify the specific upgrades that can improve efficiency and comfort.
A DIY assessment can help you
- Find obvious drafts.
- Spot damaged weatherstripping.
- Check accessible insulation.
- Review utility-bill patterns.
- Identify old or poorly maintained equipment.
- Build a list for a professional to investigate.
A professional assessment can add
- Blower-door testing
- Infrared imaging
- Combustion-safety testing
- Duct leakage testing
- Detailed equipment analysis
- A prioritized upgrade report
Start With 12 Months of Utility Bills
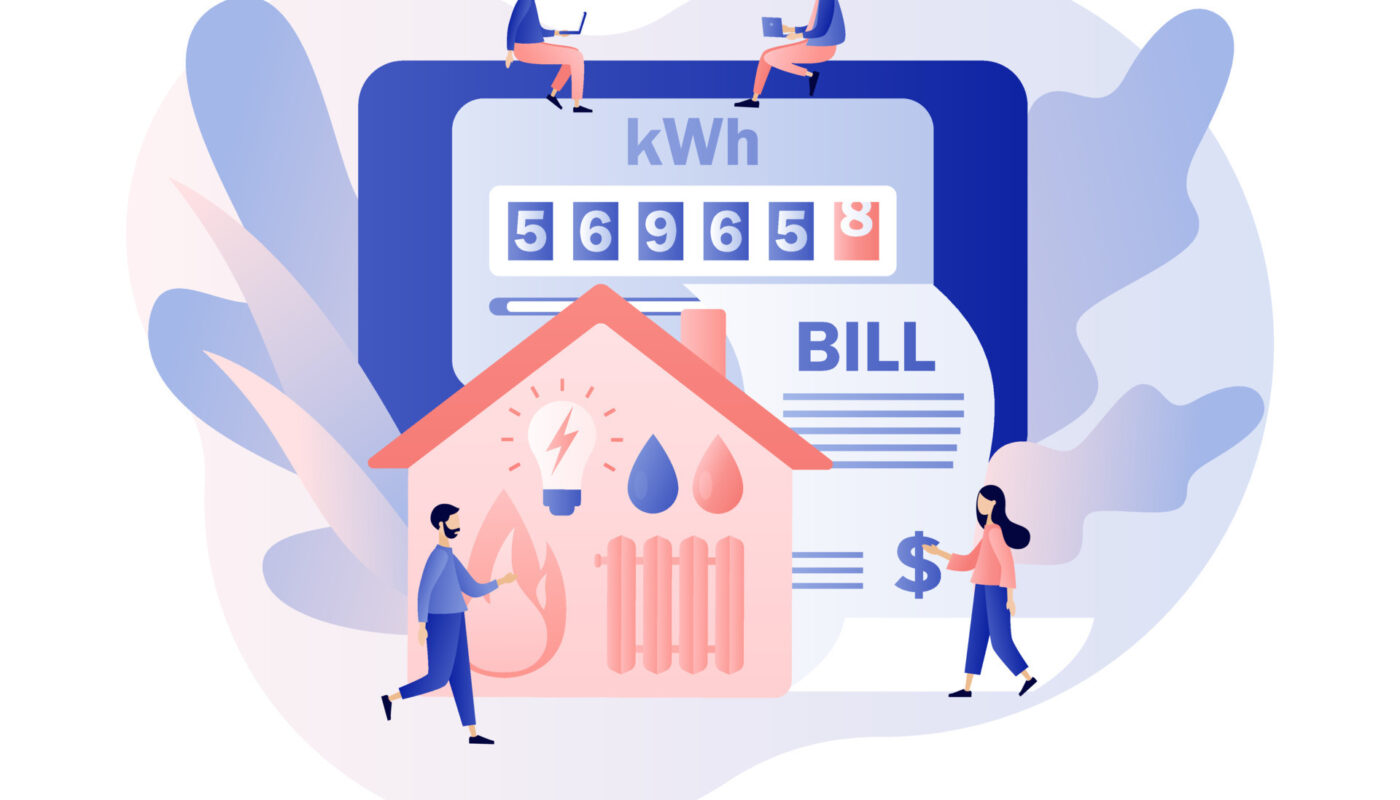
Before walking around the house with a flashlight, collect your electricity, gas, oil or other heating-fuel records.
Look for patterns
- Which months are most expensive?
- Did usage change after a new appliance or household member?
- Did a bill spike even though the weather was similar to the prior year?
- Does summer cooling or winter heating create the larger cost?
- Are there unusual base charges that efficiency improvements will not reduce?
Separate energy use from the price of energy. A bill can increase because the utility rate changed even if your household used the same amount.
Map Comfort Problems Room by Room
Comfort is useful evidence. Write down where the house feels too hot, too cold, drafty, humid or dry.
Create a simple room map
For each room, note:
- Temperature problem
- Draft location
- Condensation or moisture
- Sun exposure
- Vent or radiator performance
- Window and door condition
A bedroom that is always cold may have an insulation gap, air leak, duct problem, airflow imbalance or several issues at once. The map helps you avoid guessing.
Inspect Common Air-Leak Areas
Air leakage can make heating and cooling systems work harder. The DOE’s consumer guidance on home energy assessments identifies many common leak locations around the building envelope.
Check around
- Exterior doors
- Window frames
- Attic hatches
- Baseboards
- Plumbing and electrical penetrations
- Dryer vents
- Exhaust fans
- Recessed lighting where accessible
- Fireplace dampers
- Foundation and sill areas
Look for visible gaps, failed caulk, missing weatherstripping and daylight where building materials meet.
Use Simple Draft Tests Carefully
You can often feel a large leak with your hand on a windy day. A thin piece of tissue can also reveal airflow near a window or door.
The DOE describes more advanced DIY depressurization techniques, but combustion appliances create safety concerns. If you have gas, oil or other combustion equipment and are not trained in safe testing, do not create pressure conditions that could pull combustion gases into the home. A professional energy auditor can test the building and combustion equipment together.
Safety comes before finding every leak
Never use an open flame to search for drafts near combustible materials. Do not seal vents, flues or openings that are required for combustion air or ventilation.
Check the Attic Before Blaming the Windows
Windows get attention because you can see them. Attics can hide larger opportunities.
Look for
- Uneven insulation depth
- Missing insulation around attic access
- Compressed insulation
- Signs of moisture
- Open bypasses around pipes or wiring
- Disconnected ducts
Do not walk on exposed ceiling drywall. Step only on safe structural surfaces, and avoid disturbing material you suspect may contain asbestos or other hazards.
Understand the Difference Between Air Sealing and Insulation
These two upgrades work together but solve different problems.
Air sealing
Air sealing reduces uncontrolled airflow through cracks and openings.
Insulation
Insulation slows heat transfer through building assemblies such as attics, walls and floors.
Adding insulation without addressing large air leaks can leave important problems unsolved. In many homes, air sealing should be planned with insulation rather than treated as an unrelated project.
Inspect Doors and Windows Before Replacing Them

A drafty window does not always need full replacement. Check the frame, sash, locks, caulk and weatherstripping first.
Low-cost fixes may include
- Replacing worn weatherstripping
- Caulking appropriate stationary gaps
- Repairing a door sweep
- Adjusting a loose latch
- Using seasonal storm-window solutions where suitable
Replacement windows can provide benefits in the right situation, but they can also be one of the most expensive ways to chase a small air leak. Diagnose before buying.
Check Heating and Cooling Equipment
Heating and cooling often represent a large share of household energy use. A home energy audit should review both the equipment and the building it serves.
Basic homeowner checks
- Replace or clean filters as recommended.
- Make sure supply and return vents are not blocked.
- Listen for unusual fan or compressor noise.
- Review thermostat schedules.
- Check visible ducts for disconnections.
- Note rooms with weak airflow.
Do not open sealed combustion equipment or perform repairs beyond your skill level. A licensed HVAC professional should handle fuel-burning equipment, refrigerant systems and electrical faults.
Duct Problems Can Waste Conditioned Air
Ducts that run through attics, crawl spaces or garages can lose energy through leaks and poor insulation. A disconnected duct can make one room uncomfortable while sending heated or cooled air into an unused space.
Signs of duct issues
- Large temperature differences between rooms
- Weak airflow from some registers
- Dust around duct connections
- Visible gaps or disconnected sections
- High energy use despite normal thermostat settings
Professional duct testing can quantify leakage and help determine whether sealing is worthwhile.
Review Water Heating
Water heating can be a meaningful part of the utility bill. Check the water-heater type, age, temperature setting, visible leaks and hot-water use.
Look for practical waste
- Dripping hot-water faucets
- Long waits for hot water
- Uninsulated accessible hot-water pipes where insulation is appropriate
- Very high temperature settings
- Old showerheads with high flow
Follow manufacturer safety guidance before changing water-heater settings. Households with higher scalding or health risks may need specific temperature considerations.
Use Plug Loads and Appliances as a Secondary Check
Electronics and appliances matter, but do not let small plug loads distract from a major HVAC or building-envelope problem.
Check for
- Old secondary refrigerators or freezers
- Electric space heaters used for long periods
- Dehumidifiers or portable AC units running constantly
- Equipment left on when not needed
- Appliances with failing seals or controls
A $15 smart plug is not a solution for a house with an open attic bypass and disconnected duct.
When a Professional Energy Audit Is Worth It
A professional assessment can be especially useful when bills are high but the cause is not obvious, when the home has serious comfort problems, or before a major HVAC or insulation project.
Ask the auditor
- What tests are included?
- Will you use a blower door?
- Will you check combustion safety?
- Will you inspect ducts?
- Will the report prioritize upgrades by expected impact?
- Are you independent from the contractor selling the work?
If the same company audits and sells upgrades, ask for clear evidence supporting each recommendation.
Turn the Audit Into a Priority List
Do not treat every finding as equally urgent.
Priority 1: Health and safety
Address combustion problems, electrical hazards, moisture damage, unsafe ventilation and other safety issues first.
Priority 2: Major energy leaks
Fix large air leaks, failed ducts and obvious insulation gaps where appropriate.
Priority 3: Equipment maintenance
Correct filters, controls, airflow problems and maintenance issues.
Priority 4: Larger capital upgrades
Consider HVAC replacement, major insulation projects or window replacement after understanding the building’s actual needs.
Use a Cost-vs-Impact Worksheet
| Finding | Estimated Cost | Comfort Impact | Energy Impact | Priority | |
|---|---|---|---|---|---|
| Door weatherstripping | |||||
| Attic air sealing | |||||
| Attic insulation | |||||
| Duct repair | |||||
| HVAC replacement |
This keeps a contractor’s most expensive recommendation from automatically becoming your first project.
Real-World Example: The Cold Bedroom
Priya’s upstairs bedroom is cold every winter. She assumes the window is the problem and starts pricing replacements.
Before buying, she checks the attic above the room. The insulation is thin near the exterior wall, and a professional assessment finds air leakage around attic penetrations plus a duct connection that is not sealed well.
She addresses the air-sealing and duct issues first, then adds insulation where appropriate. The room becomes more comfortable without replacing a functional window.
The lesson is not that windows never need replacement. It is that diagnosis should come before a large purchase.
Check for Assistance Before Paying for Major Work
Lower-income households may qualify for local efficiency programs, utility assistance or the federal Weatherization Assistance Program administered through states and local providers.
Our upcoming guide to weatherization assistance explains the application process and how renters may need landlord cooperation for eligible work.
Homeowners facing broader repair needs can also review our home repair assistance guide.
Common Home Energy Audit Mistakes
- Buying new windows before checking simpler leaks.
- Looking at utility cost without looking at energy usage.
- Sealing required combustion or ventilation openings.
- Ignoring attic and duct problems.
- Replacing HVAC before improving a very leaky building shell.
- Focusing on small electronics while a large system wastes energy.
- Accepting an expensive recommendation without evidence.
- Skipping moisture and safety problems.
- Comparing one month of bills instead of a longer pattern.
- Doing dangerous electrical, combustion or attic work without proper skills.
Frequently Asked Questions
Can I do a home energy audit myself?
You can perform a useful basic walk-through, but professional tools and safety testing can reveal problems a DIY inspection misses.
What should I check first?
Start with utility bills, comfort problems, obvious air leaks, accessible attic insulation, HVAC maintenance and visible duct issues.
Does a high bill always mean my home is inefficient?
No. Energy prices, weather and household behavior also affect bills. Compare actual usage and conditions before assuming the building is the only cause.
Should I replace windows first?
Not automatically. Check weatherstripping, caulk, attic leakage, insulation and HVAC issues first. Replacement can make sense when windows are damaged or perform poorly, but diagnosis should lead the decision.
Is a professional audit worth the cost?
It can be especially useful before major upgrades, when comfort problems are hard to explain, or when you need blower-door, infrared, duct or combustion-safety testing.
Build a 30-Day Action Plan After the Audit
An audit is only useful if it leads to clear next steps. Divide the first month into small tasks instead of trying to fix everything at once.
Week 1: Verify the findings
Review the report, photos and utility history. Mark which findings are safety issues, which are comfort issues and which are mainly energy-cost issues. Ask the auditor to explain any recommendation you do not understand.
Week 2: Complete low-cost maintenance
Replace dirty filters, clear blocked vents, repair simple weatherstripping and fix obvious maintenance problems that are safe for a homeowner to handle. Keep receipts and take before-and-after photos.
Week 3: Get quotes for larger work
For insulation, duct repair, HVAC work or electrical changes, get written estimates from qualified contractors. Ask each contractor to state the problem being solved, the materials or equipment proposed and what result they expect.
Week 4: Set the order of work
Choose projects based on safety, cost, comfort and likely savings. Avoid spending the full budget on a cosmetic upgrade while a larger air leak or duct failure remains unresolved.
Track Results After Each Upgrade
Keep a simple record of the date, cost and reason for each improvement. Compare utility usage with similar-weather months when possible, not just the dollar amount on the bill. Also note whether rooms feel more even in temperature, whether drafts are reduced and whether equipment runs for shorter periods.
One small change may not produce an obvious bill reduction. Several fixes can work together. Tracking them helps you understand what actually improved the home and gives you useful evidence before paying for the next project.
Conclusion: Diagnose Before You Spend
A home energy audit gives you a map. It shows where to look before you buy insulation, HVAC equipment, windows or smart devices.
Start with bills and room-by-room comfort. Check air leaks, attic insulation, ducts, heating and cooling, water heating and major appliances. Keep safety problems at the top of the list. Then rank improvements by cost, comfort and likely energy impact.
The most useful energy upgrade is not always the newest or most expensive product. It is the fix that solves the real problem in your home.