
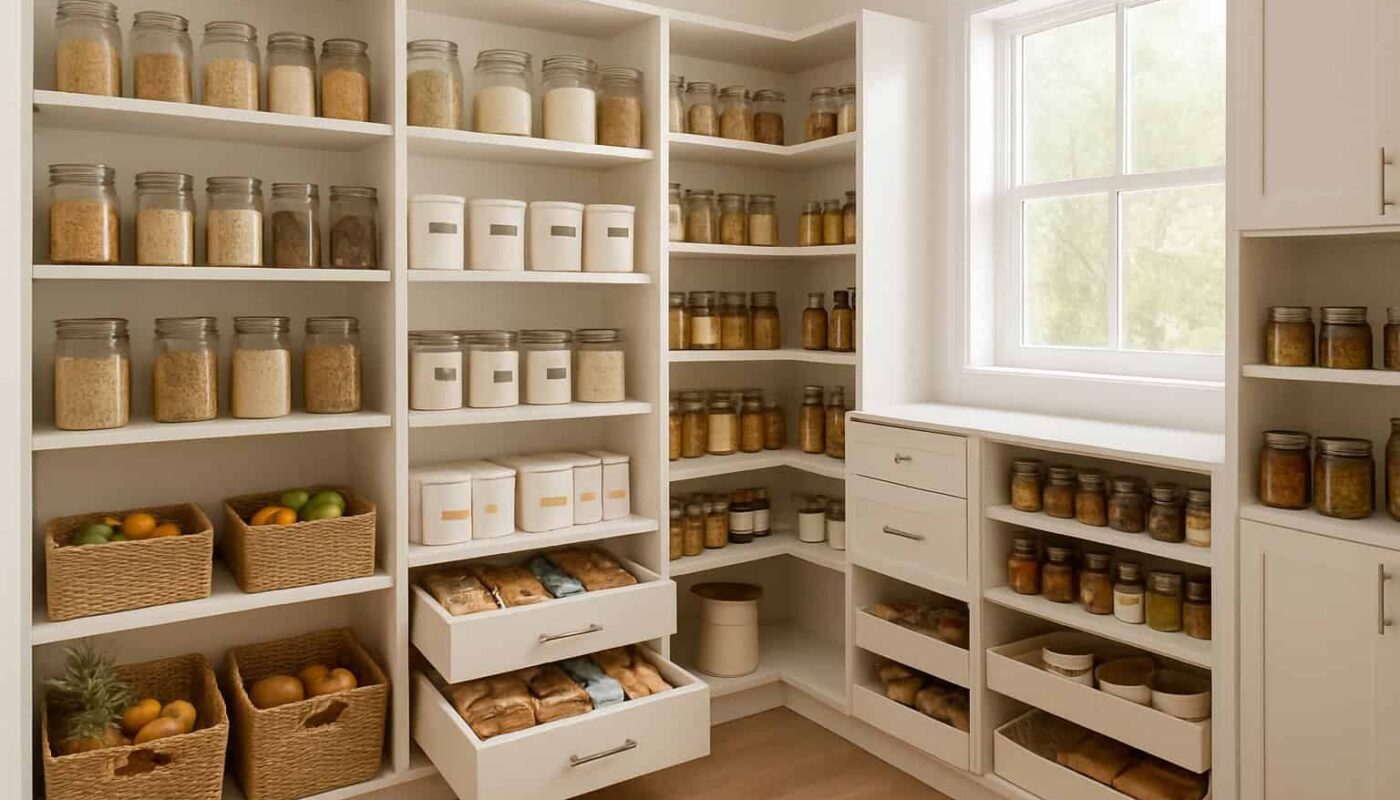
A pantry can be full and still feel like there is nothing to eat. The problem is often visibility: duplicate cans hide behind each other, half-used ingredients get pushed to the back, snacks multiply, and grocery shopping happens without checking what is already at home.
This guide explains how to build a minimalist pantry system that makes food easier to see and use. You do not need matching jars or expensive bins. The goal is to keep categories clear, reduce duplicate buying, use older food first, and make meal planning easier with the food you already own.
If grocery costs are also a priority, use our grocery price book guide to compare prices without stockpiling unnecessary food.
What Makes a Pantry Minimalist?
A minimalist pantry is not necessarily small. It simply contains food your household realistically uses, organized so items are visible and accessible.
Useful principles
- Keep categories broad.
- Use existing shelves before buying containers.
- Store like items together.
- Use older items first.
- Avoid excessive backups.
- Shop from a list based on actual inventory.
Step 1: Remove Everything Expired, Unsafe or Obviously Unusable
Begin with clear decisions. Check damaged packaging, leaking cans, pest contamination, and food that is no longer safe.
Food date labels do not all mean the same thing, and many dates relate to quality rather than safety. Use official guidance rather than guessing. FoodSafety.gov’s FoodKeeper provides storage information for hundreds of foods.
Step 2: Group Food Into Broad Categories
Instead of dozens of tiny labels, use categories that match how you cook.
Examples
- Breakfast
- Grains and pasta
- Canned proteins
- Beans
- Baking
- Snacks
- Sauces and condiments
- Spices
- Backups
If a category contains only one or two items, it may not need its own container.
Step 3: Put Open Packages in Front
When two boxes of pasta are open, both can become stale before either is finished. Keep current-use packages visible and place unopened backups behind them.
This simple “open first” rule reduces duplicates and helps you finish what you already paid for.
Step 4: Create an Eat-First Area
Use one shelf section, basket you already own, or clearly visible corner for food that should be used soon.
Good candidates
- Open snacks
- Older bread products
- Produce that needs using
- Leftover ingredients from a recipe
- Items approaching quality dates
Check the area when planning meals or snacks.
Step 5: Set Backup Limits
Stocking up can save money when the unit price is genuinely good and the food will be used safely. It becomes wasteful when a “deal” creates more food than the household can consume.
Choose reasonable backup limits for staples based on:
- How often you use the item
- Storage space
- Package life
- Shopping frequency
- Household size
You might keep two backup cans of a staple but only one backup jar of a condiment used slowly.
Step 6: Stop Decanting Everything Automatically
Matching containers can look organized but create work and expense. Original packaging often contains cooking instructions, ingredient information, allergen warnings, and date labels.
Decant only when it solves a specific problem, such as a package that cannot reseal or a bulk food that needs better protection.
Step 7: Use the Shelf as the Container
Before buying bins, treat each shelf as a broad category boundary.
Example:
- Top shelf: baking and low-use items
- Eye level: everyday staples
- Lower shelf: heavier cans and grains
- One small section: snacks
The shelf itself provides a natural limit.
Step 8: Keep Frequently Used Food at Eye Level
Prime storage should support daily cooking, not display rarely used ingredients.
If oats, rice, beans, pasta, and canned tomatoes appear in several meals each week, keep them where they are easy to see and reach.
Step 9: Store Heavy Items Safely
Keep heavy cans, large containers, and glass jars on strong lower shelves rather than high overhead storage. Follow shelf weight limits and avoid stacking unstable containers.
Step 10: Build Meals Around Pantry Reality
Before shopping, identify three or four meals that use ingredients already at home.
Example:
- Rice + beans + frozen vegetables
- Pasta + canned tomatoes + pantry spices
- Oats + fruit + yogurt
- Soup using beans, vegetables, and grains
The goal is not to avoid grocery shopping; it is to reduce purchases that duplicate what you already have.
Step 11: Keep a Short Pantry Inventory
You do not need to list every item. Track staples that are easy to overbuy or essential to meal planning.
A simple note can include:
- Rice: 1 bag
- Pasta: 3 boxes
- Beans: 6 cans
- Cooking oil: half bottle + 1 backup
- Oats: low
Update it before a major grocery trip.
Step 12: Use Unit Prices for Stock-Up Decisions
A large package is not automatically cheaper. Compare unit price and your actual ability to use the food.
Our price book guide explains how to build personal “normal” and “stock-up” price references.
Step 13: Plan for Food Safety, Not Just Decluttering
A visually simple pantry is not useful if food is stored unsafely.
FoodSafety.gov advises keeping foods at safe temperatures, covering refrigerated foods, using freezer storage appropriately, and reviewing the refrigerator regularly. Its food waste and safety guidance explains practical ways to reduce waste without compromising safety.
Step 14: Use FIFO Without Making It Complicated
FIFO means “first in, first out.” Put newer purchases behind older packages of the same product.
You do not need restaurant-style inventory labels for every item. Simply rotate when unpacking groceries.
Step 15: Give Snacks a Physical Limit
Snacks can spread across several shelves because they come in different package shapes.
Give the category one shelf or one existing basket. When the space is full, use what you have before buying more.
Step 16: Review Spices Twice a Year
Spice cabinets collect duplicates because small jars hide easily.
Twice a year:
- Group duplicates.
- Check quality.
- Combine only when the products are truly identical and safe to combine.
- Put frequently used spices in front.
- Stop buying blends you rarely use.
Step 17: Use Freezer Space as Part of the Pantry System
Freezing can help preserve bread, meat, cooked meals, and other suitable foods, but a freezer can become another place where food disappears.
Label items with names and dates, keep a short inventory, and store in meal-size portions where practical.
Sample Pantry Zones
| Zone | Examples | Rule |
|---|---|---|
| Everyday staples | Rice, pasta, beans | Eye-level, easy to see |
| Breakfast | Oats, cereal | Keep current-use items front |
| Snacks | Crackers, bars | One physical limit |
| Baking | Flour, sugar | Low-use zone |
| Backups | Extra staples | Limited quantities |
| Eat first | Open/older food | Check before meals |
Pantry Reset Before Grocery Day
- Check eat-first foods.
- Look through refrigerator and freezer.
- Update staple inventory.
- Choose meals.
- Make a list.
- Check price book for true deals.
This five- to ten-minute reset can prevent duplicate purchases.
How to Handle Bulk Purchases
Buy bulk only when:
- Unit price is lower.
- You use the item frequently.
- You have safe storage.
- The purchase does not damage the rest of the grocery budget.
- The food can be used before quality declines.
A low unit price does not save money if half the product is discarded.
What to Do With Unwanted Unopened Food
Local food banks or community organizations may accept unopened, unexpired shelf-stable foods, but donation rules vary. Check the organization’s current requirements before delivering items.
How to Handle Small or Awkward Pantry Spaces
In a narrow cabinet or rental kitchen, prioritize visibility over perfect categories. Keep one row deep where possible, place tall items behind shorter ones only when labels remain visible, and avoid stacking unstable packages. If shelves are deep, reserve the back for clearly labeled backups rather than everyday ingredients. A simple handwritten inventory on the inside of the cabinet door can be more useful than buying additional organizers.
Use Pantry Limits to Support a Weekly Meal Plan
A minimalist pantry works best when its boundaries connect to actual meals. Choose a few reliable breakfasts, lunches, and dinners that use overlapping staples. This reduces the number of specialty ingredients you need to keep and makes it easier to spot when one staple is genuinely running low. The result is less food sitting unused and fewer emergency grocery trips.
Common Pantry Organization Mistakes
- Buying bins before reducing duplicates.
- Decanting everything into containers.
- Keeping too many backups.
- Buying bulk because the package looks cheaper.
- Ignoring freezer inventory.
- Keeping daily staples in hard-to-reach areas.
- Failing to rotate old and new food.
- Organizing without meal planning.
Minimalist Pantry Checklist
- Remove unsafe food.
- Group broad categories.
- Put open packages first.
- Create an eat-first zone.
- Set backup limits.
- Use existing shelves and containers.
- Keep staples visible.
- Track a short inventory.
- Rotate groceries.
- Review before shopping.
Frequently Asked Questions
Do I need matching pantry containers?
No. Use original packaging and existing storage unless a container solves a specific freshness or accessibility problem.
How much backup food should I keep?
It depends on household size, shopping access, emergency planning, storage, and how quickly you use the food. Set category limits rather than copying someone else’s pantry.
Should I throw away food after a date label?
Not automatically. Date labels have different meanings. Use official food safety guidance and evaluate the specific product and storage conditions.
Can a minimalist pantry save money?
It can reduce duplicate buying and food waste, especially when paired with meal planning and unit-price tracking.
How often should I reorganize?
A short reset before grocery shopping plus a deeper review every few months is usually more useful than frequent full reorganizations.
Conclusion: Make Food Easier to See and Use
A minimalist pantry is not about transferring every ingredient into matching jars. It is about visibility, reasonable quantities, simple categories, and using older food before adding more.
Create an eat-first area, set backup limits, plan meals from what you own, and review inventory before grocery trips. When the pantry supports cooking instead of collecting food, shopping becomes simpler and waste becomes easier to control.